gardners_7ginzo

Site Improvements and Kitchen Progress

On July Fourth we held a work day for the Tavern site. One group of folks started laying bricks for the kitchen back wall, specifically starting and setting the two back corners.

Kitchen at the start of the day on Sept. 5th

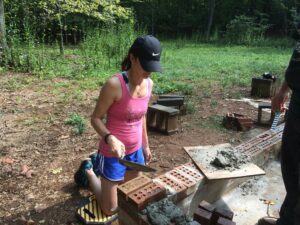
So on Saturday of Labor Day weekend, a crew of members continued laying bricks, raising the back wall to about a foot high, and adding the two rows to complete 95% of a plinth wall on the south wall of the kitchen. We’ll plan more workdays to get as much brick laying done as possible before winter’s freeze sets in.

Kitchen progress at the end of the day!

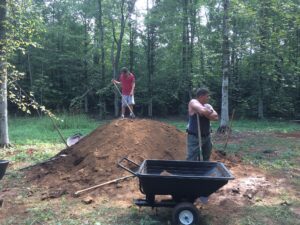
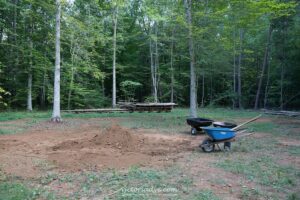
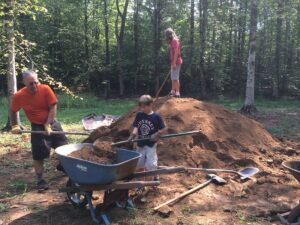
Gardiner’s also ordered a big pile of dirt to help us even out the low spots around the tavern site. A hardy crew spent the day moving the mountain of dirt to the various depressions sneakily lying about hoping to collect mud and trip passers by. We have further plans to spread grass seed, and possibly aerate the area to encourage a nice lawn for pike drills and skirmishing.

The daunting pile at the beginning of the day.

The much smaller remaining pile of dirt. 🙂

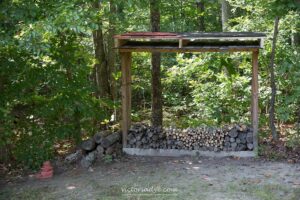
And another crew worked on the roof tiles. They built a shelf system for tile drying and storage, cleaned up the already poured tiles, mixed up and poured another batch of roof tiles into the molds, and then tested out the existing tiles on a nearby woodpile roof. This final test proved very illuminating, as the tiles cracked due to vibrations from nailing them in place. Using screws instead proved more holy, if less accurate. The crew also noticed that the broken tiles had more air bubbles in them, so perhaps a way to encourage fewer air pockets might help too. So, we’ve still got a way to go to figure out and make enough tiles.

Test use of roofing tiles proved informative.

On the whole, it was a very successful weekend. We accomplished quite a bit on Saturday and the site and kitchen are progressing along nicely.


Amy works on laying bricks

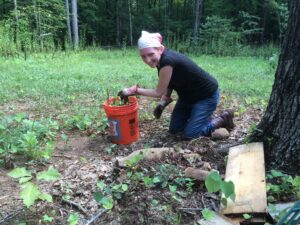
Laura weeds out some saplings from the site

Child labor was legal in Elizabethan England!

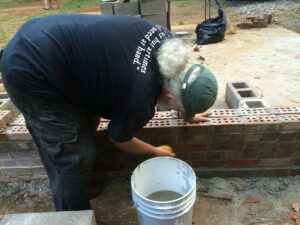
Bob “Ever But At Times of Need At Hand” washes down the newly laid bricks.

Bob “Ever But At Times of Need At Hand” washes down the newly laid bricks.

And you can see more pictures of site work on Flickr.


Our AS50 Display

Gardiner’s Company put on an impressive display of talent in the arts of the Elizabethan era this Pennsic 44. Sunday afternoon in the Great Hall, as part of the Knowne World Arts and Sciences Display, members of Gardiner’s filled up a slew of tables with a wide variety of goods for all to see.


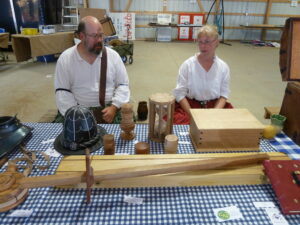
Zeke and Eleanor Hamilton’s brother man the display and answer questions. Shown here are a gorget by Rowland Smyth, a leather embroidered hat by Eleanor Abbott, turned canisters by Thomas Pennington, a cherry box by Robert the Younger, a bound book by young Charlie, and cross staff, box, and hour glass by Geoffrey Williams.


Wool/silk doublet with hand woven trim and hand wrapped buttons by Sydney Talbot, Mandillion based on a woodcut of Captain John Smith and a pair of bodies by Eleanor Hamilton, a knit cap by Emma Macconning, and some knit laborer’s caps by Jane Gravesend.

You can see even more items in a set on Flickr, from wooden stools and an amazing painting, to trunkhose and embroidery.

Kitchen Update

Lots happening this month on the kitchen.

Given the nature of the soil (clay) and the driveway was carved out of a forest, the ground was soft and unstable. After a good rain, it was difficult to get up the hill leaving the site. So we’ve had gravel put down on the driveway.

Just to highlight why the rock was necessary, the gravel truck got stuck at the entrance, and they had to get another truck to pull it out. The entire driveway is now rocked right up to the back of the kitchen site. The rock was needed so the cement truck could get in and pour the slab.

The rock is a base; it’s large stone that we want to settle before we do anything else with it. Right now it’s for trucks (mine has no problem getting up and down without 4WD), but we’ll grade and put a final layer down that will make it good for cars as well.

A slab was the easiest and quickest way to get a foundation under the kitchen. It gives us a solid base that won’t shift or heave. It also provides secure footing for the cooks. We’ll cover it with pavers of some type after the building’s done.

Our next job will be to lay a brick plinth wall and the full back wall and sides for the fireplace. That will form the base on which the timber framing will rest. In concept, it will be something like a medieval kitchen done by a group in Sweden.

We can start laying brick later this month, once the freeze threat has passed.

We’ll post more on the project as we move forward.

Robert


James Fort Training

The Jamestown-Yorktown Foundation generously offers a weekend of training for Jamestown Fort costumed interpreter volunteers. They offer essential classes such as A General History of Jamestown, Black Powder Safety, and an Introduction to Onsite Learning. Other offerings were A Laudable Form of Government: The 1619 General Assembly, Women in 17th Century Virginia, Provisioning the Colony, The English Military Experience at Jamestown, Advanced Methodolgy: Role Playing as an Interpretive Technique, Artillery, Historical Clothing in early 17th Century Virginia, and Ear Irons. This is a valuable resource for Gardiners’ Company members and all Fort volunteers, and an excellent learning opportunity. Approximately 20 Gardiners’ Company Members attended the training weekend in Williamsburg, from new volunteers to seasoned Company members, and we all learned something new we can take with us when next we work in the Fort.

Taking a quick break between classes.
English Military
Gardiners’ folks learning about the English Military Experience at Jamestown.

On Saturday night, we all gathered at the Hamiltons’ condo for dinner, drinks, lots of desserts, and good fellowship. Some worked on projects, and the rest of us just chatted and enjoyed the relaxing and entertaining evening. Thanks to everyone for coming out!

Hanging out Saturday Night


More Jamestown…

There were activities outside of the wonderful high-class spread in the Great Hall of the Governor’s Row House. During Foods and Feasts we specifically focus on the foodways of the early 17th century colonists. On Thursday and Friday, a hog is processed to show the various different cuts, as well as the food preservation methods used to make the pork last three months, or so. There was also bread baking and pie making going on in the Barracks, and military demonstrations throughout the Settlement’s Fort. Here are a few pictures, but more can be viewed in Drea’s 2014 Foods and Feasts photo set, and Jen’s album on Flickr.

Gareth and Chris work on cutting up pork. Copyright Andrea Callicutt
Gareth and Chris work on cutting up pork.
Scott shows visitors the salting and brining process as two ways to preserve meat. Copyright Andrea Callicutt
Scott shows visitors the salting and brining process as two ways to preserve meat.
Tammy and Amy at the Devon oven setting some dough to rise. Copyright Andrea Callicutt
Tammy and Amy at the Devon oven setting some dough to rise.
Drea, Lynn, and Sandy prepare to cook over the fire in the Barracks.
Alan and Jim guard the riverside gate and welcome visitors.
Some of the boys at the end of the day (Alan, Jeff, Jim, Chris, and Scott)

Thank You, and Enjoy!

Foods and Feasts recipe #3: Sugar Cakes

This one’s an easy documentation, because it’s featured in Fooles and Fricassees: Food in Shakespeare’s England, Folger Shakespeare Library, 1999. Appendix I is a transcription of Mrs. Sarah Longe: Her Receipt Booke, c. 1610. The biggest thing I changed (other than reducing the amounts a bit) was that rather than wash the butter in rosewater, I ground dried rose-petals I had collected from my own (pesticide-free) roses over the summer into the sugar before using it in the recipe.

(I totally cheated on that, btw; I processed it in a blender.)

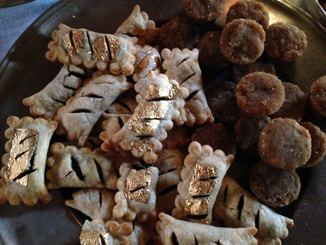
I am very sorry; I forgot to take pictures of them directly, but they really do just look like round cookies.  All the way in the back, they’re in the silver bowl on the right-hand side.


Despite the name, this is actually much more of a shortbread cookie than a cake. The dough is rolled thin, and cut out “with a glasse”.

Original recipe: “Take a pound of butter, and wash it in rose-water, and halfe a pound of sugar, and half a douzen sponefulls of thicke Creame, and the yelkes of 4 Eggs, and a little mace finely beaten, and as much fine flower as it will wett, and work it well together [;] then roll them out very thin, and cut them with a glasse, and prick them very thicke with a great pin, and lay them on plates, and soe bake them gently.”

Redacted recipe:
1/4lb salted butter (one stick), softened
3/4 cup sugar (I used the ground rose-petal sugar)
1 egg yolk
1tsp mace
1-1/2 cups sifted white flour, plus some extra

Cream the butter and sugar together in a medium mixing bowl. In a separate small bowl, beat the cream and egg yolk until blended, then add to the sugar and butter. Add the flour 1/4 cup at a time, sifting into the bowl, until the mixture forms a ball that does not stick to the sides of the bowl. Make sure you pick up any dough crumbs in the bottom of the bowl. Wrap the dough in plastic wrap and chill for 1 hour.

Preheat oven to 325F. Roll dough out on a lightly floured surface until about 1/4″ thick. Cut out rounds with a cookie cutter or wine glass. Put the rounds on a parchment lined, ungreased cookie sheet. Prick them all over with a fork* (like shortbread), then bake until light golden, about 17-20min.

Like shortbread, you don’t want the cookie to brown too much. It should be barely golden on top, and a little browner underneath.

*I really did use a big brass pin to prick them all over. This is actually a good opportunity to do decorative circles or hearts, or whatever you like on the tops of the cookie, since shaped cookie cutters aren’t really period.

Recipe #2: Fig Pudding

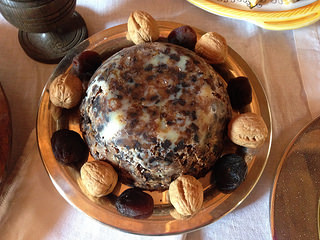
So… fig pudding. Like the pease pudding, it’s cooked in a water bath, either by tying it up in linen or muslin and directly boiling, or by cooking in a bowl put in the water (essentially, a double-boiler effect). In this case, with the sweet pudding, it’s better cooked in a bowl, so you don’t lose the flavour of the figs. Now as to the length of time it’s been a pudding, rather than, say, a fruitcake-like thing, it’s harder to say, but it’s pretty old, probably almost as old as the first dried figs imported to Britain. The fifteenth-century recipe* I have uses raisins and dates in addition to the figs, having all the fruits mixed with eggs, fat, flour, and breadcrumbs, and worked into a dough that is then boiled in water (and then suggests you can warm slices of the pudding on the griddle). I prefer it with just the figs, as it’s an excellent connection with something the Jamestown Settlement & Museum visitors know – “Oh, bring us some figgy pudding” from the carol We Wish You a Merry Christmas – and it is a proper period dish made with just the figs. My experience with the pudding was that it tastes very much like a Fig Newton. Without further ado:

Fig (figgy) pudding

Ingredients:
2 cups dried figs, chopped small
1 cup lard or suet, if you can get it (it’s better with suet)
1 cup flour
1 cup fresh breadcrumbs (crumble up some bread; it needs to be fresh, not dried)
1 egg, beaten
2 Tbsp milk
Lard, for greasing the pudding bowl

Tools:
medium mixing bowl
medium ceramic pudding bowl
6-qt saucepan

In a medium bowl, combine figs, lard, and breadcrumbs. Beat the egg and milk together, and add to the fruit mixture, adding more milk if needed to make a stiff dough. Grease the pudding bowl heavily (be generous; you want the cooked pudding to come out of the bowl), and pack the dough in firmly, flattening the top evenly. Fill the saucepan half-way with water. Cover the pudding bowl tightly with foil and place in the 6-qt saucepan, making sure the water doesn’t come up more than 2/3 of the way up the bowl. Bring the water to a boil, them simmer for 3 hours, checking the water every half hour, adding more water if needed. Do not allow the pan to boil dry.

Once the pudding is cooked, immediately turn it out onto a plate. Serve warm or cold.

* pp. 112-113, Two Fifteenth-Century Cookery-Books, Thomas Austin (ed.), printed for the Early English Text Society, Oxford University Press, 1888(facsimile, Boydell & Brewer, Ltd., New York, 2000).

Foods and Feasts 2014, Jamestown

We had an amazing turnout for Foods & Feasts, with Gardiner’s represented in almost every building at one point or another.  I know I had a great time, and really enjoyed the questions from interested and engaged visitors.  I also got some time with the chickens, which always makes me happy.


Robert and I worked the Governor’s House, with Gardiner’s members Greg and Alison, and Jamestown staff member, Samantha.  I had the “Great Hall” for most of the two days, with a big layout of period foods, set up as if the Governor was about to eat the midday meal.  This year I roasted a goose, made venison in red wine with a side of frumenty, a pease pudding, a fig pudding, meat pies, fresh-baked bread (in the popular “penny loaf” size), Banbury tarts, and sugar cakes.  Bob polished the silver – no small feat, as almost the entire table was set with silver except for the salt cellar and flagon (both beautiful replicas by Steve Millingham Pewters), and a beautiful blue and white glazed pitcher (by Eadric the Potter).
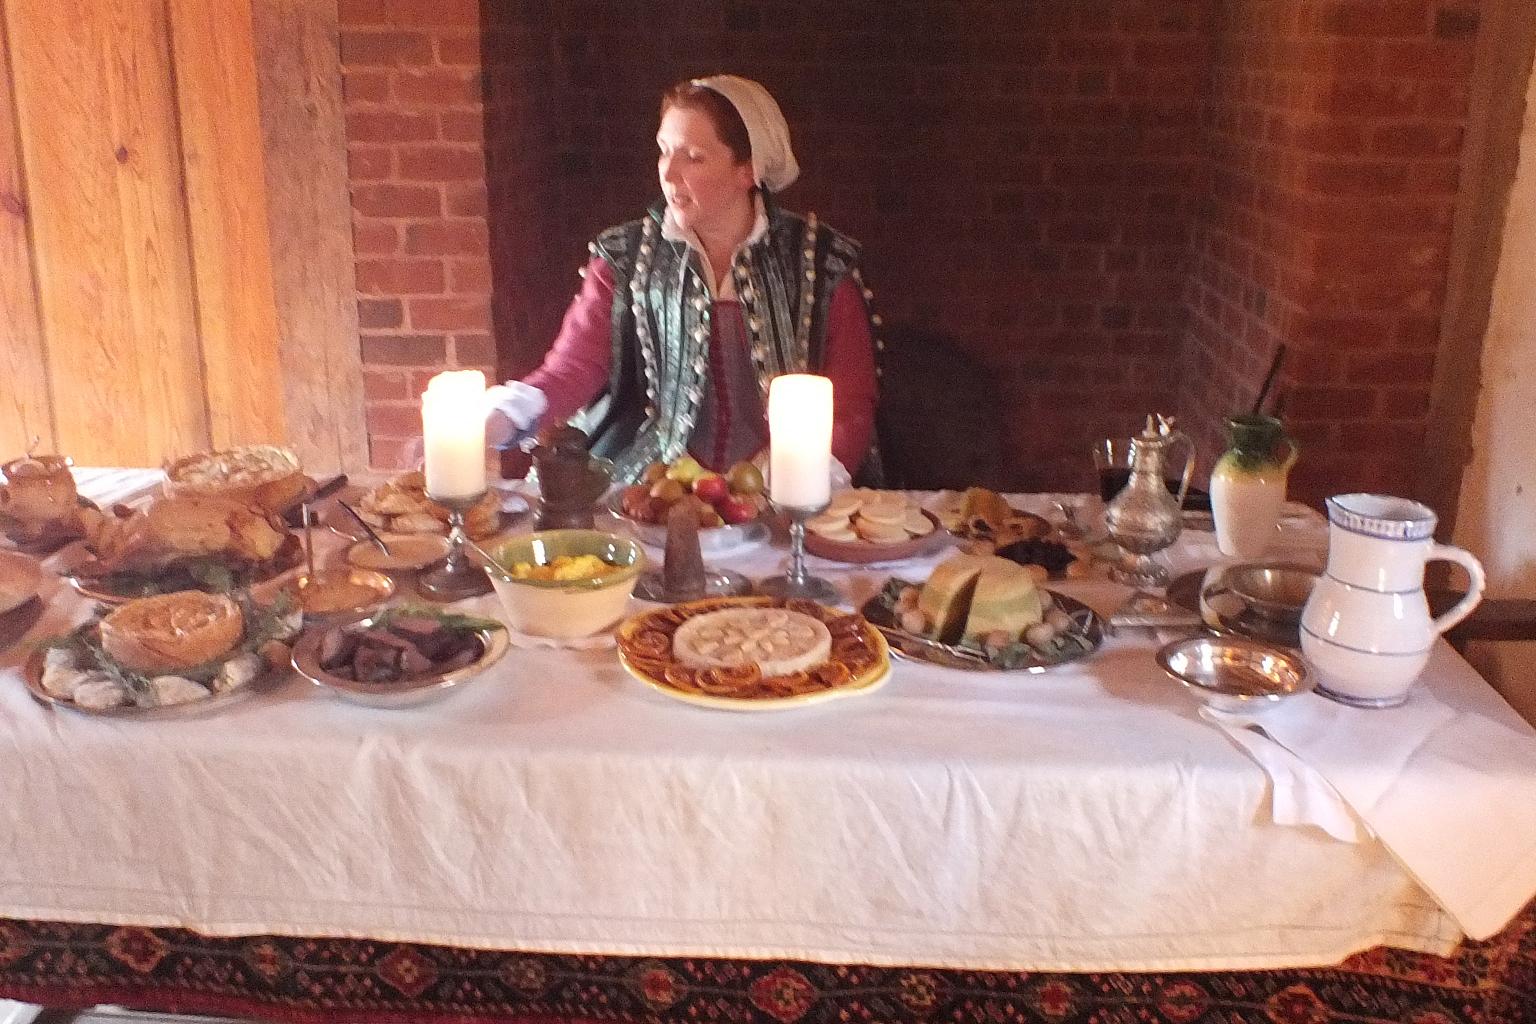
 

Photos will be forthcoming, but I thought I’d get the ball rolling with the first of my recipes for the table.***

It’s a very old British dish: (Striped) Pease Pudding.  (Side note: A friend was looking at my hand-written recipe, and she briefly thought it looked like “stupid pease pudding”.  I thought that was hilarious. Aren’t you all glad I’m typing this out?  My handwriting is illegible to me, half the time.)

Anyway…
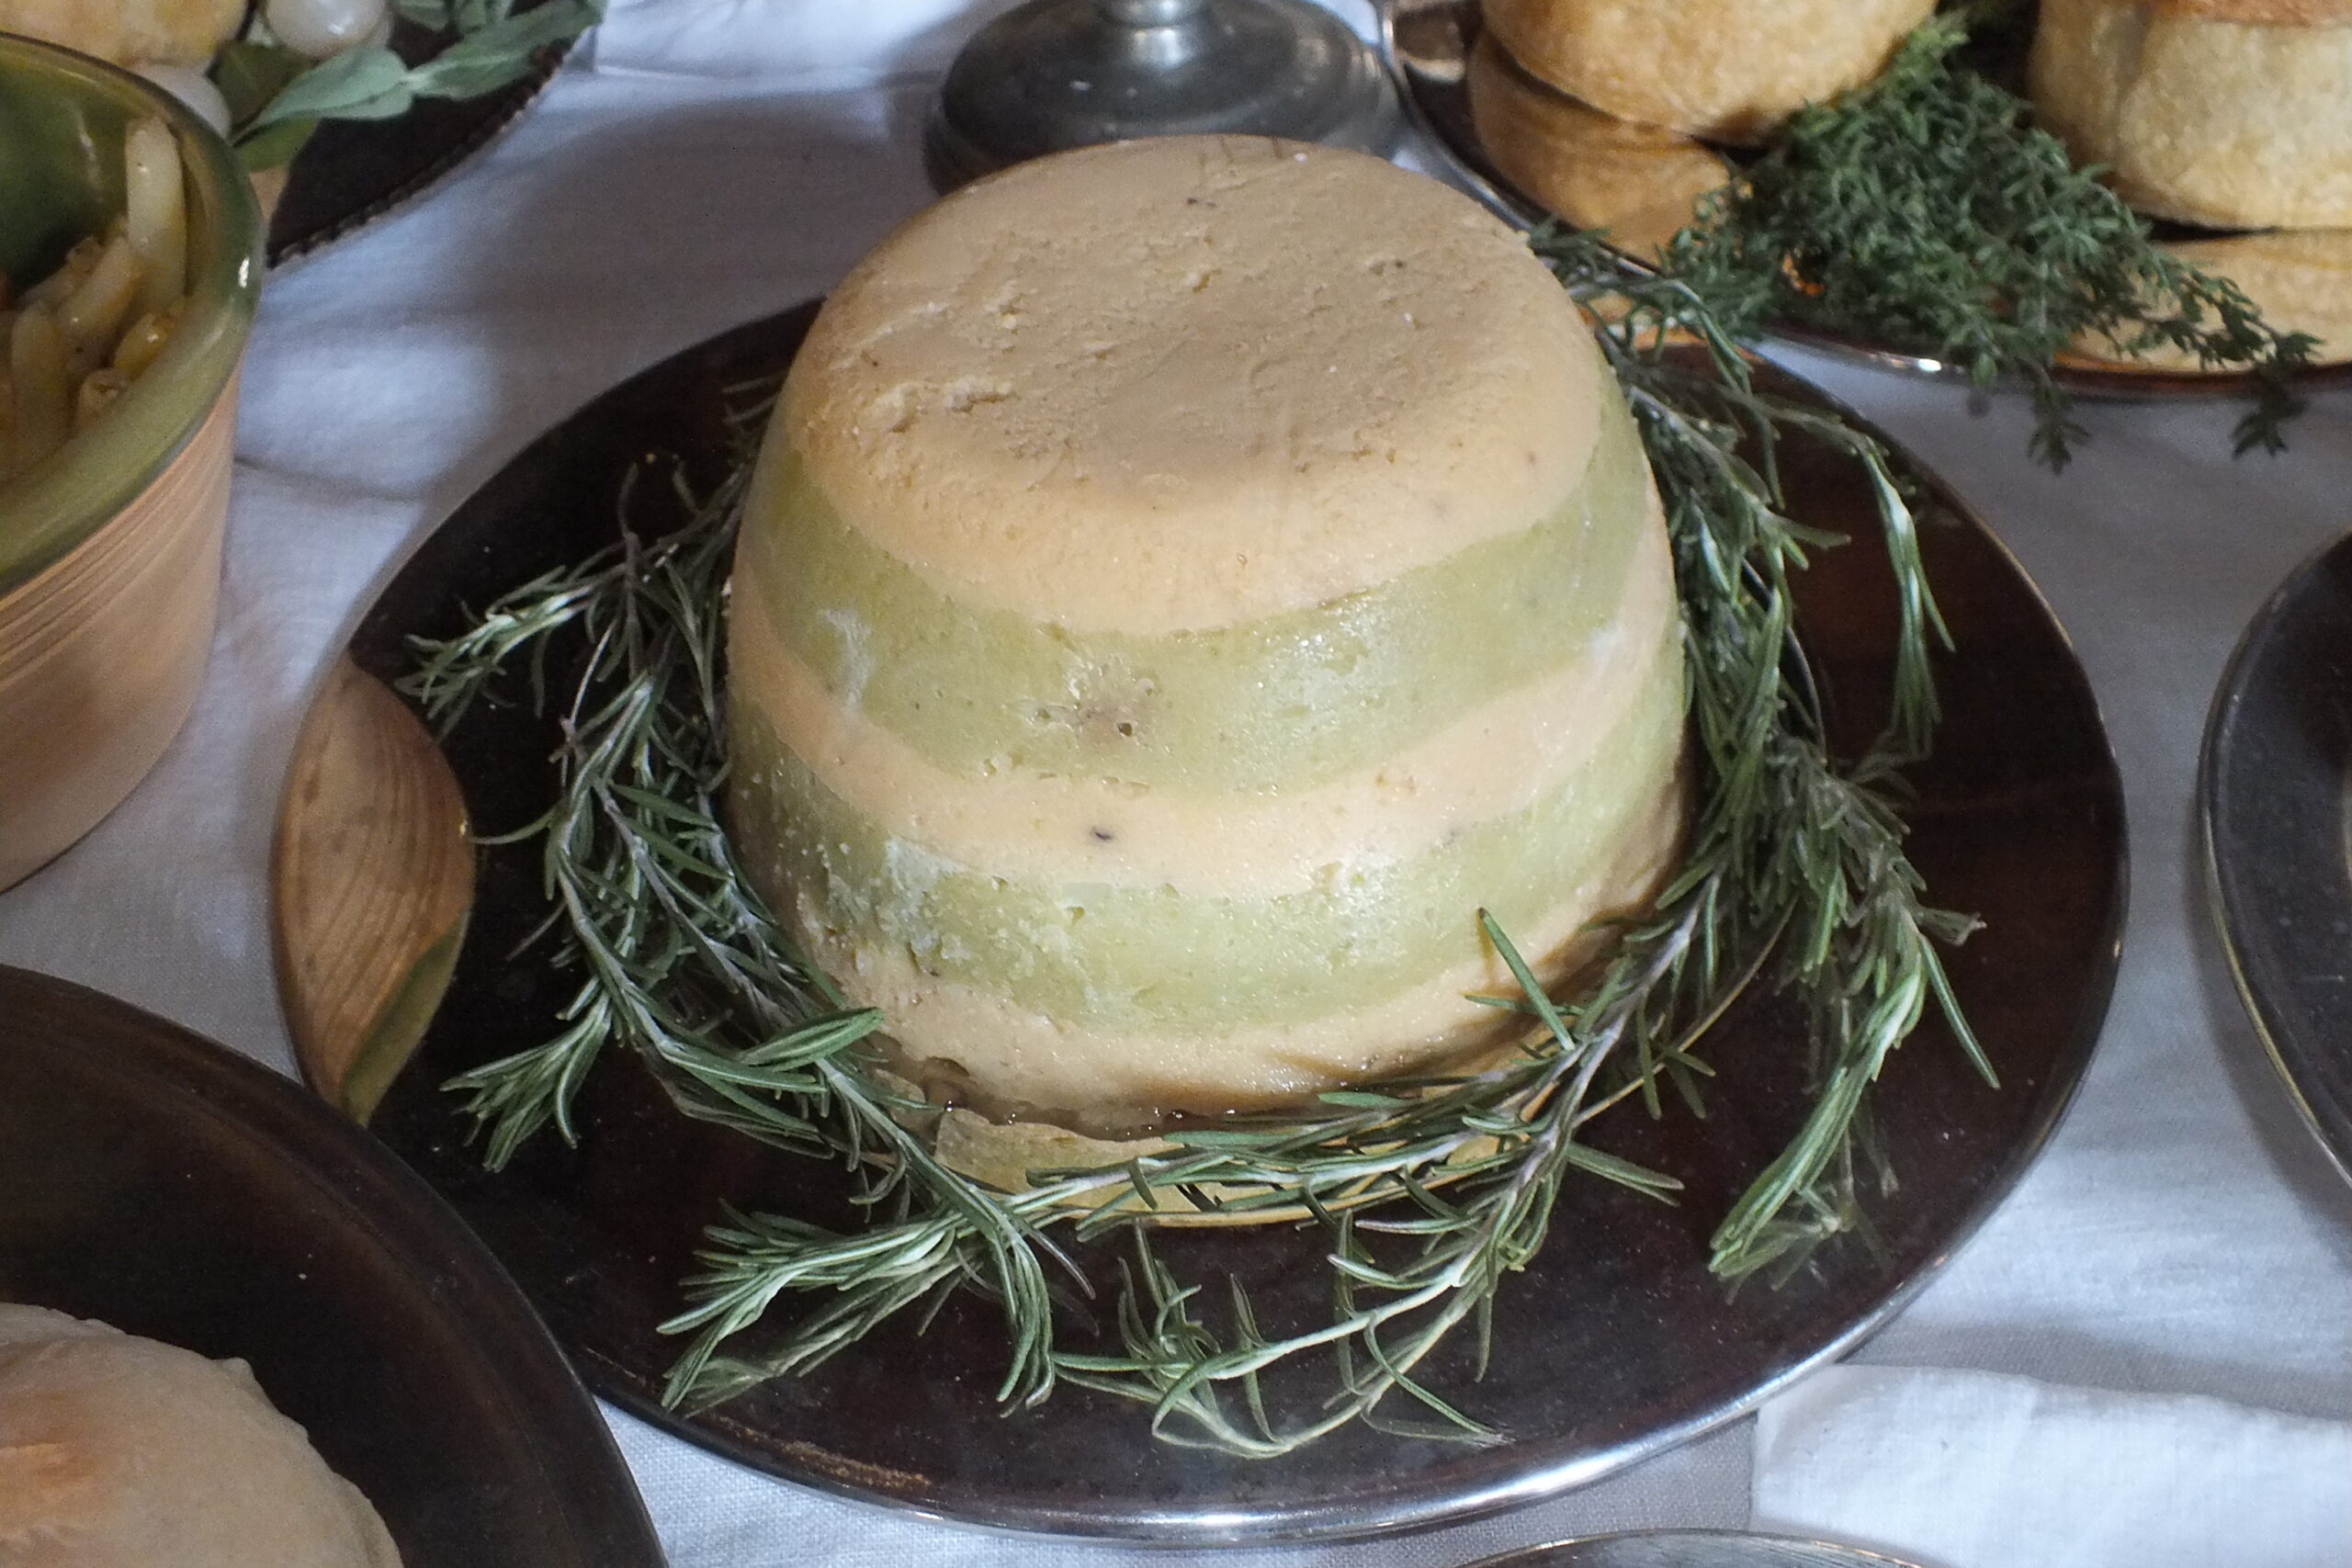
Striped Pease Pudding
Ingredients:
1/2 lb yellow dried split peas
1/2 lb green dried split peas
2 tsp butter
2 eggs
2 chicken or vegetable bouillon cubes
salt and pepper to taste
water
lard to grease the pudding bowl

Utensils:
2 2-qt saucepans
2 medium bowls
sieve
1 ceramic small/medium pudding bowl (any ceramic bowl will do; the shape of the pudding is determined by the inside shape of the bowl).
aluminum foil
Large (6-qt) saucepan

Put the yellow peas in one pan, and the green peas in the other.  Add 4 cups of water and one bouillon cube to each pan.  Cook the peas until they are soft, which can take a while, so be patient.  Keep adding more water as needed to cover the peas and allow them to cook evenly.  Once they really start becoming mushy, lower the heat to a bare simmer, and cook, stirring often, until all the extra water is gone.

Sieve the peas separately into the medium bowls, making sure all the lumps are out.  Allow to cool until barely warm.  Add 1 egg, 1tsp butter, and salt & pepper to each bowl and whisk until the egg and butter are completely blended with the peas.
Grease the 1-qt bowl heavily (be generous; the pudding will be hard to unmold otherwise).  Carefully layer the green and yellow peas 1-2″ deep into the pudding bowl, making sure not to put in too much of the peas at once, so that the layers don’t mix.  Fill a third of the large saucepan with water.  Cover the pudding bowl tightly with aluminum foil and place in the large saucepan, making sure the water is neither too high (it will get into the pudding and ruin it) nor too low (the pudding will burn).  Bring the water to a boil, then lower to a simmer, cooking the pudding for 2 hours, adding water to the large saucepan if needed (be careful not to let it boil dry).

Allow the pudding to cool for about 20 minutes, then turn out onto a flat plate.  Serve warm or cold (unmold the pudding while warm; store in the fridge), in slices.

There’s a picture of last year’s pease pudding under the December archives for 2013.

This pudding is one of the oldest traditional British puddings*; the earliest mention I found in my own books was in a cookery book from 1420**.  It used to be made by putting whole dried peas (no egg!) into a linen bag, tying the top closed, and putting it into the pot where the meat was boiled for soup or stew.  The peas would swell up and take on the flavour of the pork and seasonings.  While not a fancy dish in the aforementioned form, when the peas are layered in colours of yellow and green before cooking so that the resultant dish is striped when cut into slices, it is far more elegant, and provides a welcome addition to pork and ham dishes.

If you feel brave, try making it the traditional way, and boil it in pork broth.  Make sure the peas are given enough room to swell up in the bag; Dorothy Hartley (Food in England) says that it will come out as a round “cannon-ball” shape that you then crumble apart gently, and add butter.  The broth provides the salt.  Personally, I find that it needs more salt than just that provided by the broth, but I like my peas salty.

*The word “pudding” refers to the manner of cooking, not the flavour, in much the same way as “roast”.  A pudding can be sweet or savoury, but it is always boiled in a water or stock bath.  The use of “pudding cloths” is older than the use of pudding molds, but I follow the reasoning that molded foodstuffs like aspics and set puddings were considered an attractive addition to the 17th century table, so I cook my pudding using a bowl.  I cannot document the use of specially shaped ceramic molds further back than the late 18th century, so even though I own a really pretty one, I don’t use it for Jamestown interpretation.

Sources:

** Two Fifteenth-Century Cookery-Books, Thomas Austin(ed.), printed for the Early English Text Society, Oxford University Press, 1888 (facsimile, Boydell & Brewer Ltd., New York, 2000).

Food in England, Dorothy Hartley, 1954, Macdonald & Co Ltd., London.

***Photos by Andrea Callicutt, added to post by Jen Thies

Gardiner’s Company Store

Our fearless Secretary and Treasurer have been the brains and brawn behind the Gardiner’s Company Store, which has shown up at a variety of Atlantian events from Night on the Town to Holiday Faire, with the occasional showing at Sapphire/Ruby Joust and Twelfth Night. Stocking various sundries, and also peddling some used clothes, all the proceeds have gone to Gardiner’s Company to help with projects such as funding the site for Yule, paying for the land clearing for the upcoming tavern, and helping with materials and engineering for the kitchen building. The Company Store has also been helpful in getting a few members and friends clothed.

If you need or desire anything, you can reach these ladies at store@gardinerscompany.org

Headcoverings, plain and fancy
Headcoverings, plain and fancy, and credit cards accepted.
Clothes for sale
Clothes for sale

Shifts for ladies

Shirts and Trunkhose for gentlemen

Shifts for ladies, trunkhose and shirts for gentlemen

Bobbins, books, bottles, and such

We appreciate all our customers who have helped Gardiner’s Company reach our current goals, and look forward to future customers and our future projects. And we’d be completely lost without Mistress Carlyle, our Treasurer, and Mistress Hamilton, our Secretary, for all the hard work they do in addition to being our cooks and keeping us fed. They are our quiet heroes!

Tavern Site

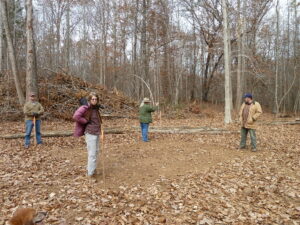
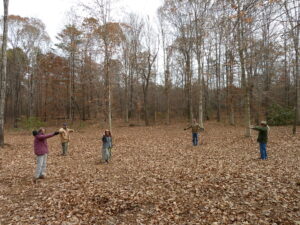
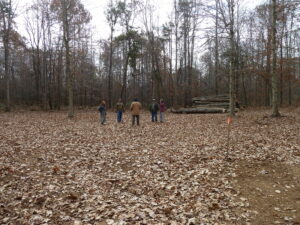
We staged a few photos on Sunday morning to give a better idea of the space of the newly cleared tavern and kitchen site. It’s quite large and spacious with plenty of room for kitchen, tavern, tents, drilling, skirmishing, archery, and games.

Bandesmen stand at the approximate four corners of the kitchen.

Marking the proposed corners of the tavern, while Fanny admires the space.

Looking to the gathering in the tavern, with a corner of the kitchen to the right

Looking across the drilling green to a gathering of Bandesmen in the tavern

A few more photos of our first meal on the Tavern site during a break in work on Saturday, and the site on Sunday morning, are available on Flickr.